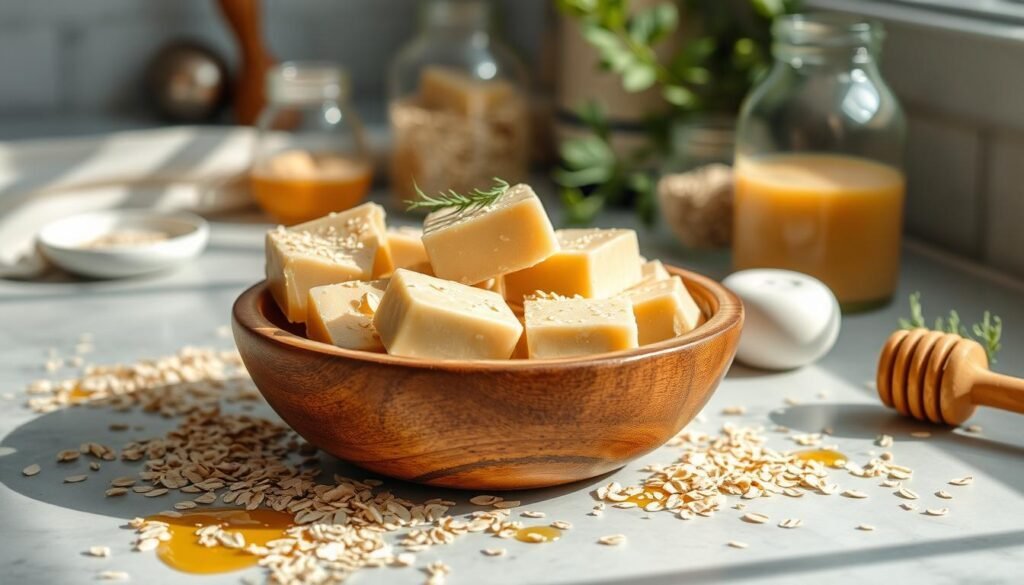
Ever thought about why store-bought moisturizers don’t always work? What if you could make a skincare product at home? One that hydrates and soothes with nature’s best ingredients? That’s what DIY Moisturizing Oatmeal and Honey Lotion Bars offer. They’re perfect for anyone wanting to improve their natural skincare routine.
With just a few simple ingredients, you can make a luxurious skin treat. It’s better than any commercial product.
Key Takeaways
- DIY lotion bars combine the nourishing properties of oatmeal and honey.
- Homemade lotion bars can be customized to suit personal skin needs.
- Natural skincare DIY practices promote healthier skin and reduce plastic waste.
- Making your own lotion bars is an easy and cost-effective solution.
- These lotion bars make thoughtful, personalized gifts for friends and family.
Introduction to DIY Lotion Bars
Exploring DIY lotion bars is a fun way to moisturize your skin. These solid lotions are easy to carry and use. They’re made from natural ingredients, perfect for those who want to avoid synthetic products.
When you make your own lotion bars, you can choose exactly what goes into them. This means you can make them for any skin type. It’s a great way to take care of your skin and have fun doing it.
You can add your favorite smells and ingredients like essential oils and natural butters. This makes making lotion bars a fun and rewarding activity. It lets you create something that really works for you, making your skincare routine more personal.
Benefits of Using Oatmeal and Honey in Skincare
Oatmeal and honey are key in natural skincare. They bring special benefits that help your skin. These ingredients nourish and improve skin health for all types.
Hydration Properties of Honey
Honey is a great natural humectant. It pulls moisture into your skin, keeping it hydrated. Using honey in your skincare makes your skin soft and plump.
Honey also fights bacteria, which is good for acne-prone skin. So, honey and oatmeal together offer many benefits.
Anti-Inflammatory Benefits of Oatmeal
Oatmeal is known for its anti-inflammatory effects. It soothes irritated skin and helps with eczema and psoriasis. It’s gentle on sensitive skin, offering a soft exfoliation.
Adding oatmeal to your skincare routine can calm your skin. It also boosts your skin’s moisture.
Easy Moisturizing Lotion Bar Recipe
Making your own skincare products is fun and rewarding. This simple lotion bar recipe focuses on quality and ease. We’ll show you the ingredients and tools you need to make your own lotion bars.
Ingredients You’ll Need
- 1 part beeswax
- 1 part shea butter
- 1 part coconut oil
- 2 tablespoons oatmeal
- 2 teaspoons honey
Essential Tools for Mixing and Molding
- Double boiler for melting ingredients
- Mixing spoons for combining
- Silicone molds for shaping the lotion bars
Using organic ingredients makes your lotion bars better for your skin. They feel luxurious and keep your skin hydrated. Get these items ready before you start making your lotion bars.
Step-by-Step Guide to Making Lotion Bars
Making your own lotion bars at home is fun and rewarding. Follow these steps to make your own beauty product. A good DIY beauty product tutorial starts with careful preparation and technique.
Preparation of Ingredients
First, gather and measure all needed ingredients. Organizing everything beforehand makes the process easier. You’ll need shea butter, beeswax, coconut oil, oatmeal, and honey. These ingredients are great for your skin.
Melting and Combining Ingredients
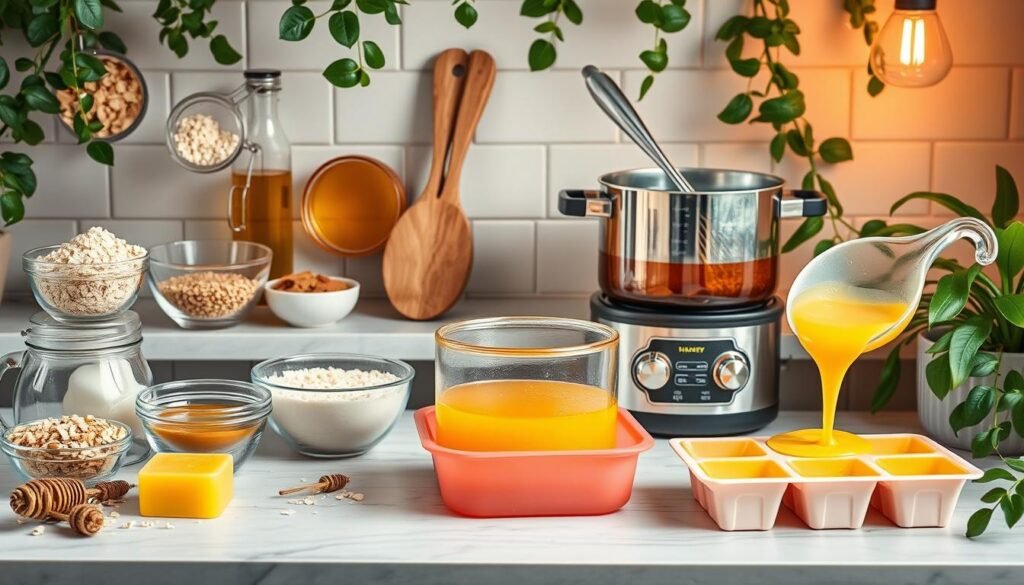
Use a double boiler to melt the beeswax, shea butter, and coconut oil. Heat it gently until everything is melted and mixed well. Then, add oatmeal and honey, stirring well to mix evenly. Getting a uniform consistency is key for your lotion bars’ quality. Remember, these steps are crucial for your skincare product’s success.
Molding Your Lotion Bars
After mixing everything, pour it into molds. Silicone molds are great because they make removal easy. Let the bars cool and solidify for a few hours. For the best results, cure them overnight. Once set, remove the bars from the molds and enjoy your homemade lotion bars!
| Step | Description |
|---|---|
| 1 | Gather and measure ingredients. |
| 2 | Melt beeswax, shea butter, and coconut oil. |
| 3 | Add oatmeal and honey, stir well. |
| 4 | Pour mixture into molds. |
| 5 | Allow to cool and solidify. |
| 6 | Remove bars from molds. |
Customizing Your Homemade Lotion Bars
Making your own lotion bars lets you tailor them to your needs. You can add essential oils for scent and benefits. This makes your lotion bars special and effective for your skin.
Adding Essential Oils for Fragrance
Essential oils are a great way to make your lotion bars unique. For example, lavender oil adds a calming scent. You can also mix citrus and floral oils for different smells.
Use 12 drops of essential oil for every ounce of carrier oil. This gives a strong but nice fragrance. It also makes your lotion bars more moisturizing.
Incorporating Additional Skin-Loving Ingredients
You can make your lotion bars even better by adding extra ingredients. Vitamin E oil and cocoa butter are great for your skin. They add antioxidants and extra moisture.
Start with shea butter, beeswax, and carrier oils. Mix them in equal parts for a good base. Adding these ingredients makes your lotion bars better and lets you customize them fully.
Storing and Using Your Lotion Bars
Learning how to store and use lotion bars can make them last longer and work better. Keeping them in the right place keeps them fresh. Knowing how to apply them lets you enjoy their full benefits.
Best Practices for Storage
It’s important to store lotion bars correctly to keep them good. Keep them in a cool, dry spot, away from sunlight. Sunlight can melt or damage them.
Use airtight containers or tins to protect them. This keeps air and moisture out, keeping the ingredients fresh.
How to Apply Lotion Bars Effectively
Warming lotion bars in your hands before use is key. It makes them melt and spread smoothly on your skin. Rub the bar between your palms for a few seconds.
Then, gently massage the melted lotion into your skin. Focus on dry areas. This method moisturizes and protects without the mess of regular lotions.
Why Choose Handmade Over Store-Bought?
Choosing handmade lotion bars has many benefits. One key advantage is avoiding synthetic chemicals found in store-bought products. These chemicals can irritate the skin, causing discomfort and reactions. Making your own lotion bars lets you control the ingredients, ensuring they are gentle and right for your skin.
Handmade lotion bars also offer customization. You can pick ingredients based on your skin type, like coconut milk for oily skin or shea butter for dry patches. This flexibility means you can create products that really meet your skincare needs, making them more effective and satisfying.
Another reason to choose handmade is the support for sustainable practices. Handmade products often use organic ingredients, which are better for the environment than commercial ones. Plus, eco-friendly packaging options can be used, reducing waste and supporting green living.
Making your own lotion bars also adds a personal touch. Each item shows the care and effort you put into it, making it unique. This personal connection can turn everyday skincare into a special treat, deepening your appreciation for self-care.
| Benefits | Handmade Products | Store-Bought Alternatives |
|---|---|---|
| Control Over Ingredients | Yes | No |
| Customizability | High | Low |
| Sustainability | Often Eco-Friendly | Varies |
| Emotional Connection | Strong | Weak |
| Potential Irritants | Lower Risk | Higher Risk |
Choosing handmade lotion bars is more than just skincare. It’s a step towards a healthier lifestyle. Making these products is rewarding and fulfilling, making it a great choice for anyone looking to improve their skincare routine.
DIY Moisturizing Oatmeal and Honey Lotion Bars as a Gift Idea
Making homemade gifts adds a personal touch that store-bought items can’t match. DIY Moisturizing Oatmeal and Honey Lotion Bars are perfect for any occasion. They not only moisturize the skin but also show you care.
Creative Packaging Suggestions
Choose packaging that shows off the natural beauty of your lotion bars. Here are some ideas:
- Reusable metal tins: They protect the lotion and can be used again.
- Decorative jars: Glass or ceramic jars add elegance.
- Fabric wraps: Eco-friendly fabric gives a rustic look.
Personalized Gift Tags and Messages
Personalized gift tags make your gift even warmer. You can write messages or instructions for using the lotion bars. Here’s how to make a tag:
- Add the recipient’s name.
- Include a special note about the lotion bars’ benefits.
- Share a personal story or memory related to the gift.
By focusing on packaging and personal touches, you show your effort and creativity. This makes your homemade gift even more special and meaningful.
Natural Skincare DIY: Eco-Friendly Practices
Choosing eco-friendly skincare is good for your skin and the planet. Organic ingredients make your products better and safer. Making your own skincare helps reduce plastic waste, making your life more sustainable.
Using Organic Ingredients
Switching to organic skincare is key for those who care about health and the environment. Organic products support green farming and are better for your skin. They are gentler and work better, keeping your skin healthy without harsh chemicals.
Reducing Plastic Waste with Homemade Products
DIY skincare cuts down on plastic waste from store-bought items. Making your own skincare helps the planet. Using reusable containers makes your skincare routine even greener, benefiting both you and the environment.
Frequently Asked Questions About Lotion Bars
Lotion bars are popular for their ease and skin benefits. Many wonder how to make, use, and store them. This section answers common questions about DIY lotion bars, like those with oatmeal and honey.
1. How do I store my lotion bars?
Keep your homemade lotion bars in a cool, dry spot. Avoid direct sunlight. Use a tin or glass container for storage.
2. Can I use lotion bars on my face?
Lotion bars are mainly for the body, but some use them on their face. If you have dry skin, try it on a small area first to avoid irritation.
3. How long do homemade lotion bars last?
Homemade lotion bars can last months if stored right. The ingredients and storage conditions affect their shelf life.
4. Are there any allergens in oatmeal and honey?
Oatmeal is usually safe, and honey is natural. But, if you’re allergic to either, try alternatives or do a patch test.
5. Can I customize my lotion bars?
Yes, making lotion bars is fun. You can add essential oils for scent or ingredients like coconut oil for extra benefits.
6. Are lotion bars good for all skin types?
Lotion bars with oatmeal and honey might help many skin types. Oatmeal soothes, and honey hydrates. But, results can vary, so consider your skin needs.
7. What is the best way to apply lotion bars?
Rub lotion bars on clean, dry skin. They melt in, making absorption easy. Use a little for the right moisturizing effect.
| Question | Answer |
|---|---|
| How do I store my lotion bars? | In a cool, dry place, preferably in a tin or glass container. |
| Can I use lotion bars on my face? | Yes, but test for irritation on a small area first. |
| How long do homemade lotion bars last? | Several months if stored properly, depending on ingredients. |
| Are there any allergens in oatmeal and honey? | Both are generally safe, but test for allergies. |
| Can I customize my lotion bars? | Yes, adding essential oils or other ingredients is encouraged. |
| Are lotion bars good for all skin types? | Many can benefit, but results may vary. |
| What is the best way to apply lotion bars? | Rub directly onto clean, dry skin for absorption. |
Conclusion
Making DIY Moisturizing Oatmeal and Honey Lotion Bars is a rewarding way to add DIY skincare to your routine. This guide shows how easy it is to make these lotion bars. It also highlights the lasting benefits of using natural ingredients for your skin.
By doing this, you not only take care of your skin but also live more sustainably. This approach is fulfilling and good for the planet.
Throughout this guide, we’ve seen how oatmeal and honey work well together. They provide your skin with much-needed moisture and calmness. Using DIY skincare has many benefits, like avoiding harmful additives found in commercial products.
This helps create a healthier environment for everyone. It’s a win-win for your skin and the planet.
Creating your own lotion bars is more than a fun activity. It’s a chance to improve your self-care and focus on natural wellness. You can add different essential oils and ingredients to make your skincare unique. This way, your skincare meets your specific needs and preferences.
FAQ
What are DIY Moisturizing Oatmeal and Honey Lotion Bars?
What benefits does honey provide in skincare?
Can I customize the lotion bars with essential oils?
How should I store my homemade lotion bars?
Are there any additional ingredients I can use?
What tools do I need to make lotion bars?
Can these lotion bars be a gift idea?
How do I apply the lotion bars effectively?
What are the advantages of handmade lotion bars compared to store-bought ones?
Are there environmental benefits to making DIY skincare products?
